Background
Again, we'll be using Vectr to draw. We will need at least one background image. Having more images can make for a more interesting background.
When drawing the background, make sure that the page is set to 800px by 600px.
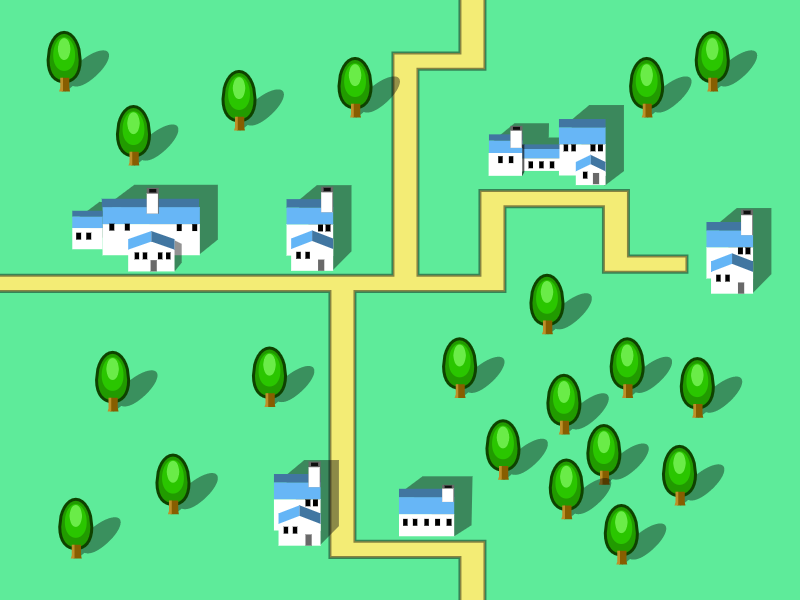
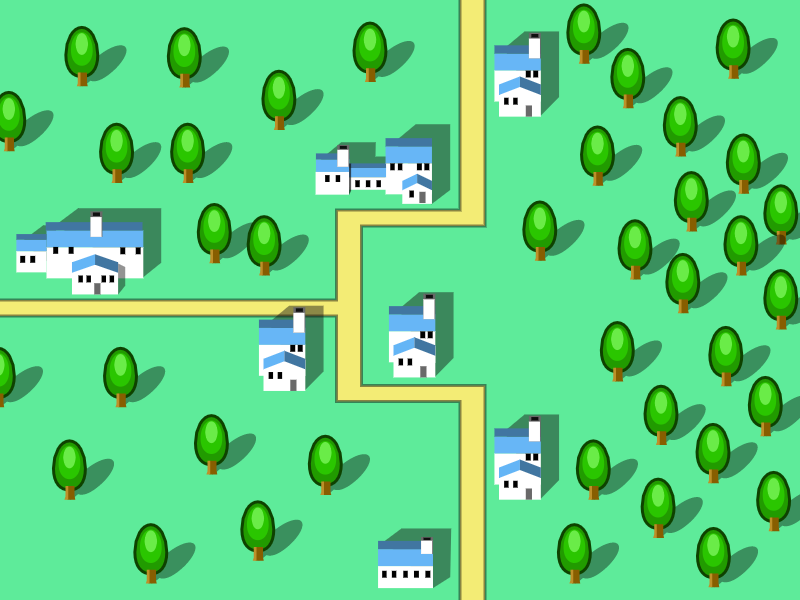
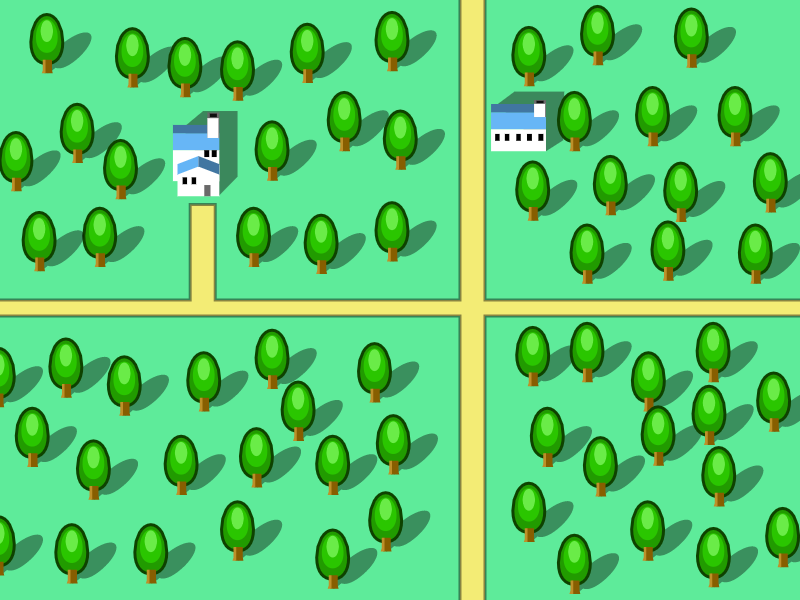
This is the background that I've drawn...
In creating this background, I used a few new techniques in Vectr. I'll demonstrate it using the tree as an example.
Tree
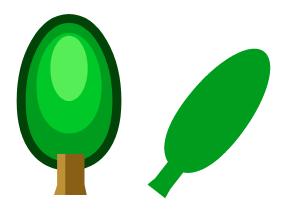
The tree was created using a few ellipses overlapping one another...
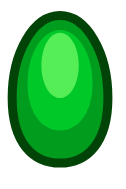
I edited the bottom point of the outer most ellipse to make the bottom a bit flatter. That's similar to how we edited the body of the player ship.
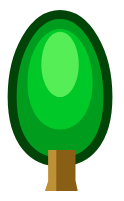
Next, I added the tree trunk. Since this isn't a regular shape, I've drawn it using the pen tool. But if you prefer, you can choose to make the truck a simple rectangle.
Shadow
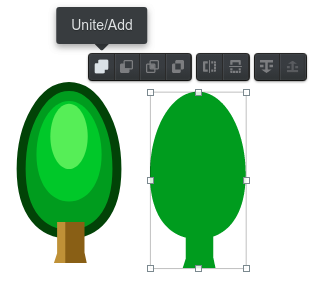
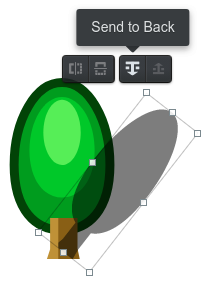
To create the shadow, I first make a duplicate of the tree, then I selected the Unite / Add option to combine all the shapes into one.
Next, I rotated the shadow. To rotate an object, just move your mouse cursor slighly below the bottom-most point. After rotation, I flattened it a little.
Shadows makes everything look darker. To create that effect, we'll set the color to pure black and reduce the opacity.

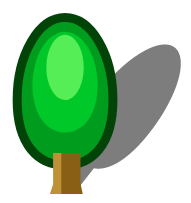
Finally, we move the shadow to a suitable position, then shift it behind the tree by clicking on the "Send to back" button.
You may need to click it multiple times to get it positioned correctly. The completed tree looks like this...
Multiple-backgrounds
Once you have a single tree, you can group the parts together and duplicate it to create an entire forest. You can reuse the houses, roads, and whatever-you-have-in-your-background to easily create multiple versions of the background image. Here's another two more that I've created.
Draw your own background! You need at least one, but if you have time, you should try and draw more. If you are running behind on time (...maybe you missed a class?), you can right-click on these images, save them to file, and use them in your game.
Exporting
To use your image in your game, you'll need to export it.
Important: We will export the image twice!
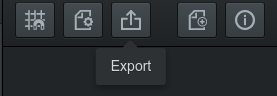
This time we'll be exporting the entire page, so you won't need to select anything. Just click the "Export" button.
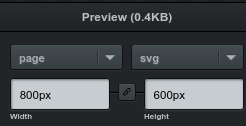
SVG
First, we'll export it to SVG format. Change the settings to Page and SVG, make sure the width and height are 800px by 600px, then click "Download"".
Drag the downloaded file from your browser into your your game's images folder.
The SVG format won't be directly used in your game, but will be used if you need to edit your background in the future.
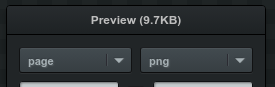
PNG
Next, change the settings to Selection and PNG, then click "Download"".
Again, drag the downloaded file from your browser into your your game's images folder.
Make sure you change the names of both the svg and png files to something suitable. The filenames must not contain spaces, capital letters, or special characters other than underscore. In this case, I would recommend using "background" as a filename.
Scrolling Background
We are going to create a scrolling background. This means that the background will continuously move from top to bottom, making it look like the ship is flying.
Adding background
If we try to do this with just one background actor, the actor will not be able to cover the screen all of the time. So we'll need at two actors. Just like with bullets, if we have more than one actor, we'll start by creating a list for it.
backgrounds = []
Since I have 3 background images, I'll create a list for the images filenames as well.
background_images = ['background1','background2','background3']
I will be using the random module to help me randomly select a background image, so we'll need to import random...
import random
Next, we'll create two actors for the background and add them to the list.
background = Actor(random.choice(background_images))
background.x = 400
background.y = 300
backgrounds.append(background)
background = Actor(random.choice(background_images))
background.x = 400
background.y = -300
backgrounds.append(background)
The first actor is placed right at the center of the screen, while the second actor is placed directly above it. The random.choice function is used to randomly select a filename from the list of background filenames.
random.choice(background_images) : Randomly select one item from the background_images list and returns it.
Making it move
To move the background downwards, we need to increase its y position in the update function...
for background in backgrounds:
    background.y += 3
But it shouldn't just keep going down forever. Once it exits the screen from the bottom, we should return it to the top.
for background in backgrounds:
    background.y += 3
    if background.y > 900:
        background.y -= 1200
        background.image = random.choice(background_images)
I'm also changing the image to a random background image whenever it returns to the top. Not necessary, but it makes the background look more varied.
Drawing the background
As always, you have to tell Pygame Zero to draw the background, or you'll never see it.
for background in backgrounds:
    background.draw()
You can also remove the screen.clear(). We won't need it anymore, as the background will be redrawn over the entire screen each frame, so there is no need to clear the old images from the screen.
At this point...
At the end of these, your program should look like this...
import pgzrun
import random
from pgzhelper import *

WIDTH=800
HEIGHT=600

player = Actor('player')
player.x = 400
player.y = 500

bullets = []
bullet_delay = 0

background_images = ['background1','background2','background3']
backgrounds = []
background = Actor(random.choice(background_images))
background.x = 400
background.y = 300
backgrounds.append(background)
background = Actor(random.choice(background_images))
background.x = 400
background.y = -300
backgrounds.append(background)

def update():
    global bullet_delay

    if keyboard.up:
        player.y -= 5
    if keyboard.down:
        player.y += 5
    if keyboard.right:
        player.x += 5
    if keyboard.left:
        player.x -= 5

    if player.x < 25:
        player.x = 25
    if player.x > 775:
        player.x = 775
    if player.y < 30:
        player.y = 30
    if player.y > 570:
        player.y = 570

    if keyboard.space and bullet_delay == 0:
        bullet_delay = 5
        bullet = Actor('player_bullet')
        bullet.x = player.x
        bullet.y = player.y
        bullet.angle = 90
        bullets.append(bullet)

    if bullet_delay > 0:
        bullet_delay -= 1

    for bullet in bullets:
        bullet.move_forward(15)
        if bullet.y < 0:
            bullets.remove(bullet)

    for background in backgrounds:
        background.y += 3
        if background.y > 900:
            background.y -= 1200
            background.image = random.choice(background_images)

def draw():
    for background in backgrounds:
        background.draw()
    player.draw()
    for bullet in bullets:
        bullet.draw()

pgzrun.go() # Must be last line